GitHub Actions is the new hotness for continuous integration(CI) and deployment. To the point where it seems to be the default for new open source projects that are GitHub based.
One of the enormous benefits to using GitHub Actions is that it keeps everything in one place. You’re already managing your PRs, and hosting your repo on GitHub, so why not let them do you CI as well?
I’ve been wanting to dig into them for a little while now, but as I have an upcoming gig that requires me to know it, I took the opportunity to learn by doing and migrated PyAnchor from Travis CI to GitHub Actions.
As the CI for PyAnchor is fairly basic, and only runs the test suite and code coverage, it took me less than an hour (your milage may vary), from knowing zero, to having a working CI with GitHub Actions.
My first impression of GitHub Actions is that not only is it intuitive (despite being yaml based), but also very, very, well documented. So let’s compare the old with the new, before I dig into the specifics.
The Old vs The New
Travis CI, like many (if not all) CI services use yaml configs which allow you to specify not only what builds and environments you want to test or application in, but also what tasks you want to perform and in which order.
The CI does three things:
- Builds multiple environment to test against several versions of Python. This includes installing the dependencies for PyAnchor.
- Runs
pyteston the multiple environments. - Collects the coverage report from
pytest-covand uploads it to codecov.io. (This also gives me a fancy badge to display on the README so users of the package can see it has good coverage.)
Here’s how the old .travis.yml file looked:
language: python
python:
  - "3.6"
  - "3.7"
  - "3.8"
install:
  - pip install -r requirements-dev.txt
script:
  - pytest --cov
after_success:
  - bash <(curl -s https://codecov.io/bash)
Even if you’ve never built a CI before, or used Travis CI, hopefully the above is not too complicated to understand.
First, I tell Travis CI which language and version of the language I want to run my application with. Then install the dependencies, before running pytest. And if successful, it will publish the coverage report to codecov.io.
Now let’s look at how the same flow looks in Github Actions:
name: Run Tests

on: [push, pull_request]

jobs:
  testing:
    runs-on: ubuntu-latest
    strategy:
      matrix:
        python-version: [3.6, 3.7, 3.8, 3.9]

    steps:
      - uses: actions/checkout@v2
      - name: Set up Python ${{ matrix.python-version }}
        uses: actions/setup-python@v2
        with:
          python-version: ${{ matrix.python-version }}

      - name: Install dependencies
        run: |
          python -m pip install --upgrade pip
          pip install -r requirements-dev.txt

      - name: Run pytest
        run: pytest --cov

      - name: Coverage report
        run: bash <(curl -s https://codecov.io/bash)
A Brief Walk-through of The New Action
The first change to be noted is that all GitHub Action .yml files must live in a .github/workflows/ folder in your projects root directory. The .yml files can be called anything you want, but should be called something descriptive, as you might have dozens of actions in the folder for larger projects.
In the code above we start by giving our Action a name. This will be the name you see on GitHub PR’s etc, when the Action runs. “Run Tests” seemed appropriate.
Next comes the trigger. I want the Action to run every time I push code, to any branch, and on all PRs. Other triggers are available, and you can even set Actions to only trigger on a branch-by-branch basis. For instance, if I only wanted to run my action on a push to the main branch, I could replace on: [push, pull_request] with:
on:
  push:
    branches:
      - main
Now comes the part where we declare the jobs that we want to run as part of the workflow. Each job needs a unique id. In this case, we have just one job with the id of testing.
In the first section of the job we are going to declare the environment we wish to use for testing to run in. This is a simple CI so I’ve just set it to run in the latest version of Ubuntu, with it running four times, once per Python version as stated in the strategy``matrix.
Now onto the juicy part, defining what steps need to be taken to complete the workflow. As you can see from above, each step starts with - name, which is just a human-readable name for what’s happening in that step, and an action, which in this instance case is a run declaration. You can do many things here, like set environment variables, and such, so I would recommend you check out the docs for more. We’ll come back to this in a sec, first let me explain - uses: actions/checkout@v2.
GitHub Actions has its own marketplace, where you can call other actions to run in your workflow. Much like you would when you import a library to use in your Python code. As my workflow starts with the CI needing to clone my repo into the Ubuntu environment, I can use the checkout action from GitHub. It is imported using the - uses declaration.
The following steps setup Python on the Ubuntu environment and install the dependencies from my requirements-dev.txt. That might seem like a lot of ceremony just to run the command pytest --cov, but you once had to set up the environment on your local machine, too. And I can guarantee you this way is much quicker to run than if you had to do it manually. I finish off the workflow by giving codecov.io my coverage report and the CI is complete.
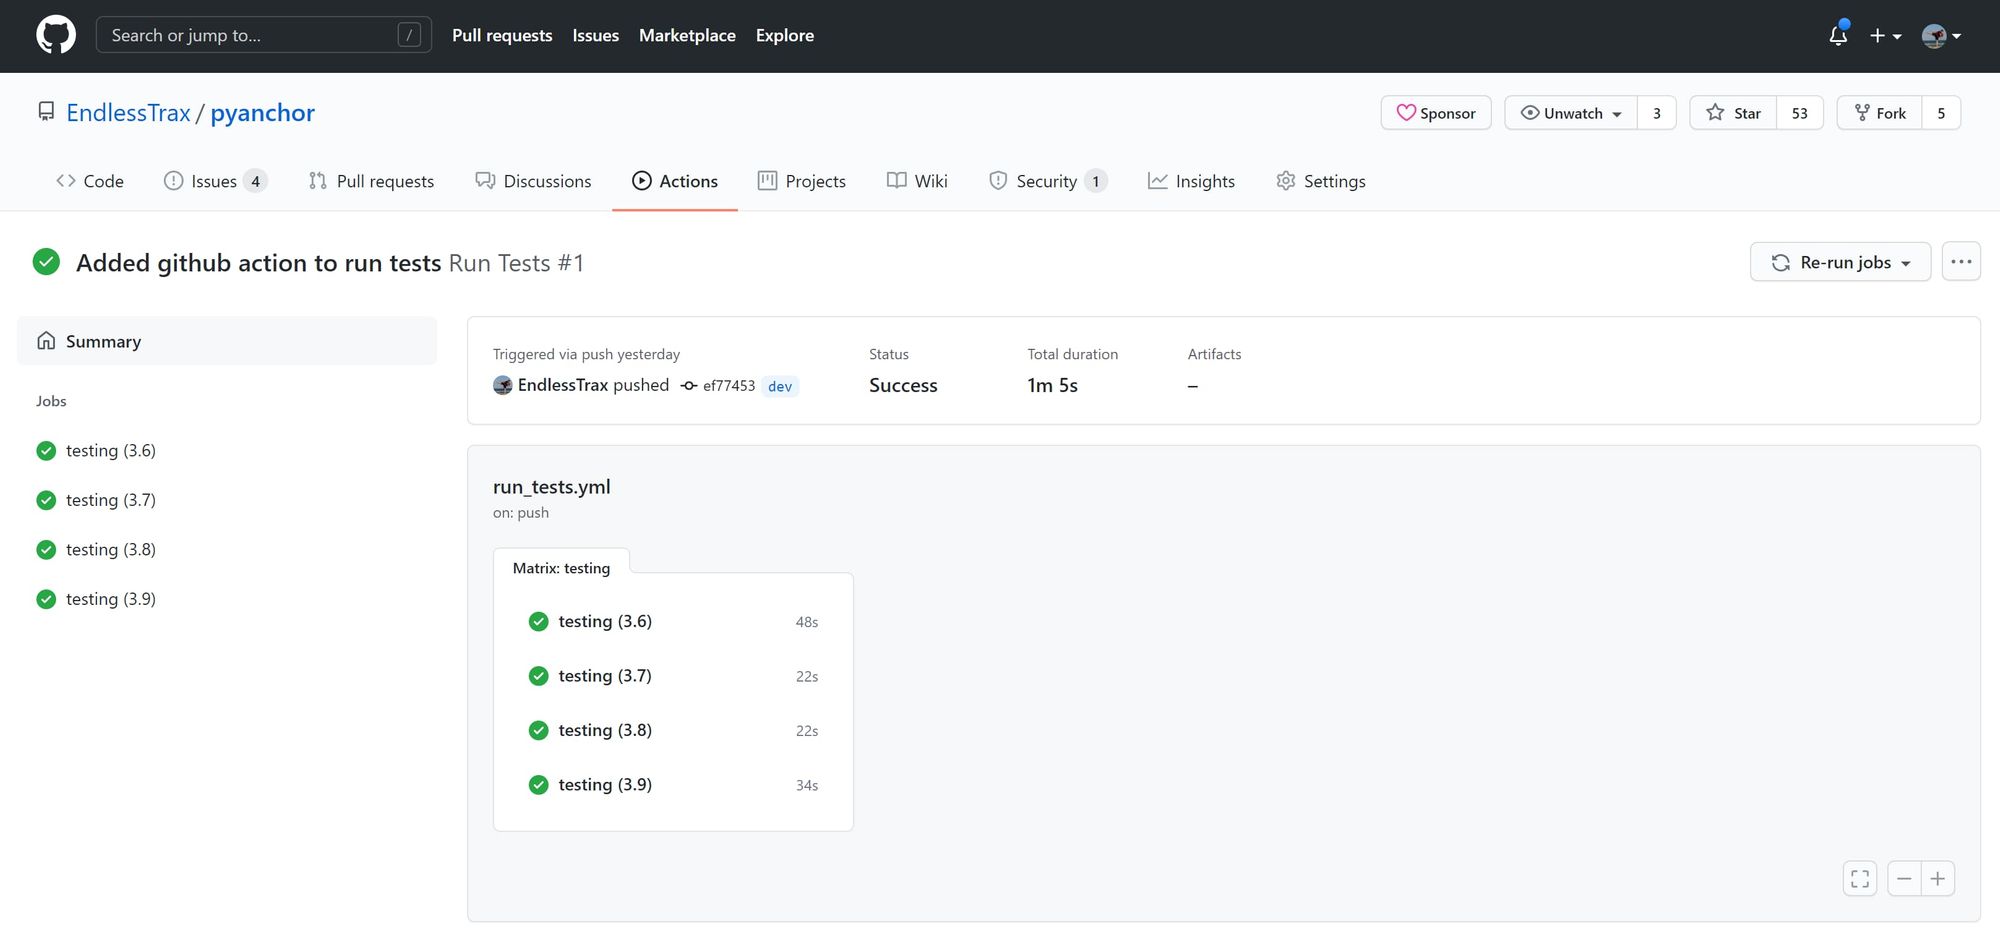
After committing the new GitHub Action and pushing to GitHub, the new workflow was automatically detected and ran. I’m also pleased to say all tests passed, too! 😂

Summary
I was surprised how quickly and easily I was able to switch my CI over to GitHub Actions. Though I realize this is a very simple workflow and much more involved processes may take much longer. I’ve definitely been converted, and it will be my go to for CI for most projects in the future.
To learn a little more about what you can do with GitHub Actions, check out the video below, or head over to their docs and get started.
You can also see my final GitHub action for PyAnchor over on the repo. GitHub Actions - Supercharge your GitHub Flow